Why Kale Chips Deserve a Spot in Your Snack Rotation
If you’ve ever craved something salty, crunchy, and guilt-free — kale chips are your answer. These light and crispy snacks are not only delicious, they’re nutrient-dense, easy to make, and surprisingly versatile. They satisfy the craving for crunch while giving your body a boost of fiber, vitamins, and antioxidants.
Compared to store-bought chips, kale chips are:
- Low in calories
- Packed with vitamins A, C, and K
- High in fiber
- Naturally gluten-free and low-carb
- Easily customizable
What You Need to Make Kale Chips
You don’t need a dehydrator or fancy equipment. Just an oven, a baking tray, and a few simple ingredients.
Ingredients:
- 1 bunch of fresh curly kale (about 5–6 cups of torn leaves)
- 1 tablespoon extra virgin olive oil
- ¼ teaspoon sea salt (or to taste)
Optional Seasoning Ideas:
- Nutritional yeast (for a cheesy, dairy-free flavor)
- Garlic powder or onion powder
- Smoked paprika or chili flakes
- Lemon zest
- Everything bagel seasoning
Step-by-Step: How to Make Crispy Kale Chips
Step 1: Preheat the Oven
Set your oven to 150°C (300°F). A lower temperature helps dehydrate the leaves rather than burning them.
Step 2: Wash and Dry the Kale Thoroughly
Rinse your kale leaves well — curly kale especially traps dirt. Dry completely using a salad spinner or clean kitchen towel. Moisture is the enemy of crispness.
Step 3: Remove the Stems
Strip the leafy greens away from the tough stems. Tear or cut the leaves into 2–3 inch pieces.
Step 4: Massage with Oil
In a large bowl, drizzle the kale with olive oil. Use your hands to massage the oil into the leaves until evenly coated. This helps soften the kale and ensures even crisping.
Step 5: Season Lightly
Sprinkle with salt and any other seasonings. Don’t overdo it — flavors will intensify as the kale dehydrates.
Step 6: Bake
- Arrange kale in a single layer on a parchment-lined baking sheet.
- Do not overcrowd; if needed, bake in batches.
- Bake for 18 to 22 minutes, flipping once halfway through.
- Check frequently in the last 5 minutes to avoid burning.
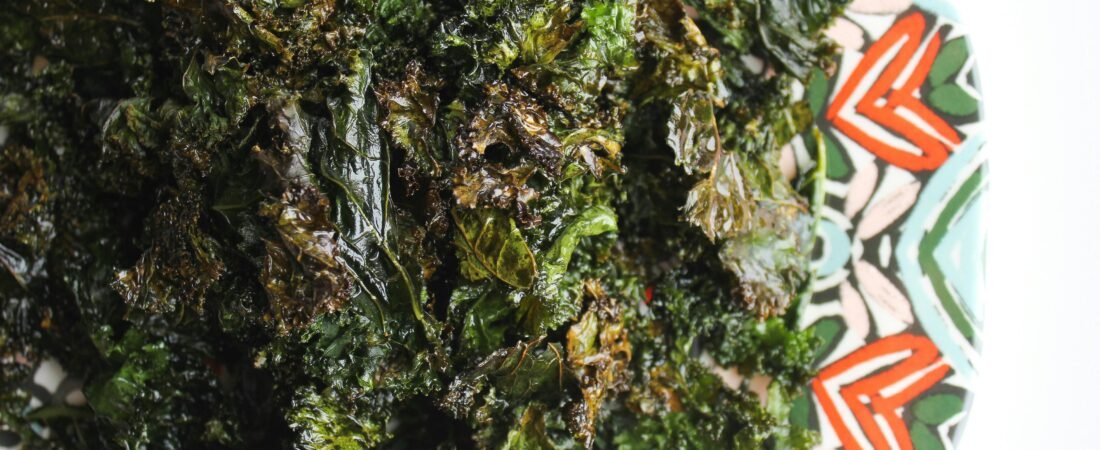
Step 7: Cool
Let the chips cool on the tray for 5–10 minutes. They will continue to crisp as they cool.
Why Your Kale Chips Might Be Soggy (and How to Fix It)
Problem: Chips are soft, chewy, or slightly burnt.
Common mistakes:
- Kale wasn’t dried properly — always pat dry or spin dry thoroughly.
- Oven too hot — stick to 150°C (300°F).
- Overcrowding — kale needs airflow to crisp evenly.
- Not flipping or rotating trays — especially in conventional ovens, heat can be uneven.
How to Store Kale Chips (If You Have Any Left)
Once completely cooled, store kale chips in an airtight container at room temperature for up to 2–3 days. To extend crispness:
- Line the container with a paper towel to absorb moisture.
- Do not refrigerate (it adds humidity).
If they lose crispness, pop them back in the oven for 2–3 minutes at 150°C (300°F) to re-crisp.
Fun Flavor Combinations to Try
Get creative with your seasonings. Here are some favorites:
- Cheezy Ranch: Nutritional yeast + garlic powder + onion powder + dried dill
- Spicy BBQ: Smoked paprika + chili powder + coconut sugar
- Zesty Lemon Pepper: Lemon zest + black pepper + sea salt
- Savory Umami: Soy sauce + sesame oil + toasted sesame seeds (use sparingly)
Why Kids (and Picky Adults) Love Kale Chips
Kale chips are an easy way to get more greens into your day — even for kids who normally dislike vegetables. Their light, crispy texture and salty crunch feel indulgent, even though they’re incredibly healthy.
Pro tip: Let kids help with tearing, seasoning, or flipping. When they help make the chips, they’re more likely to eat them.
Final Thoughts
Kale chips are the ultimate DIY healthy snack — fast, fun, and full of flavor. With just a few simple steps and some pantry staples, you can turn an ordinary bunch of kale into a crave-worthy snack that’s good for your body and your taste buds.
So the next time you’re tempted to reach for a bag of potato chips, give these kale chips a try instead. Once you crunch into your first batch, you might not go back.
🛒 Shop the best tested products
| Product | Buy Link |
|---|---|
| Food Storage containers | Food Storage containers |
| Unsweetened Granola | Unsweetened Granola |
| Avocado Oil | Avocado Oil |
| Raw Walnuts | Raw Walnuts |
| Turmeric Powder | Turmeric Powder |
⚖️ Affiliate Disclosure
This post may contain affiliate links. If you make a purchase through these links, I may earn a small commission at no extra cost to you. I only recommend products I personally use and trust.